
Restoring a Vintage Admiral TV - Page 1, Beginnings
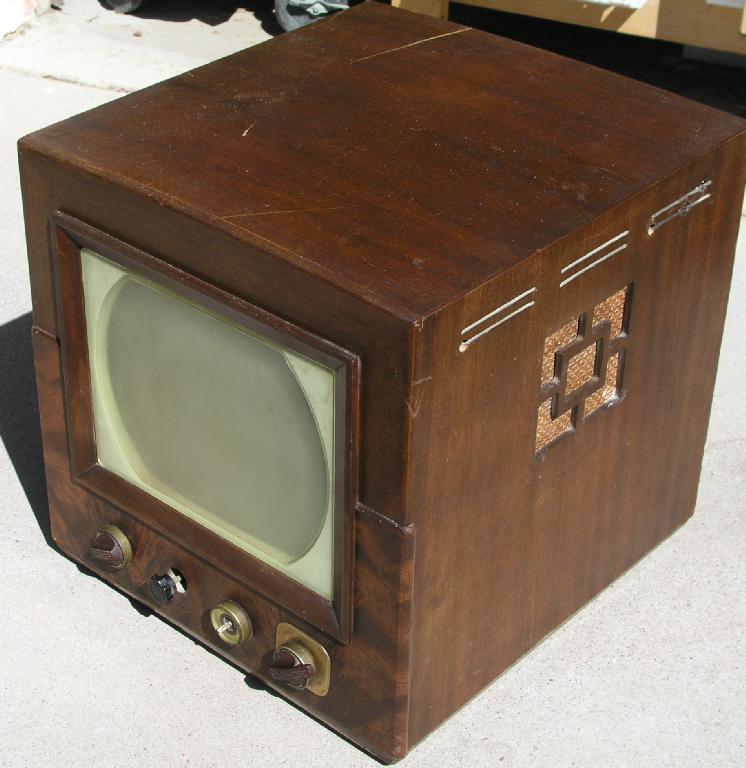
In October 2004 I found an Admiral 20X136 TV - circa 1948 - in a Tucson antique store.
It was fairly complete and the cabinet was in excellent condition - at $40 I was unable to resist it.
This page describes the restoration effort and showcases the results.
Most of the small images can be expanded with a click.
Here's what the set looked like "as found":
Obvious defects:
- Missing some of the knobs on the front.
- Missing the back cover
- One of the speaker wires was cut
- A potentiometer was hanging out of the back on two long wires
- AC line cord was rotted to a dangerous extent
- Surface rust on the top of the chassis
- Very dull & scratched plastic window over the CRT
- Cabinet finish dull & crazed, but the wood is sound with no water damage
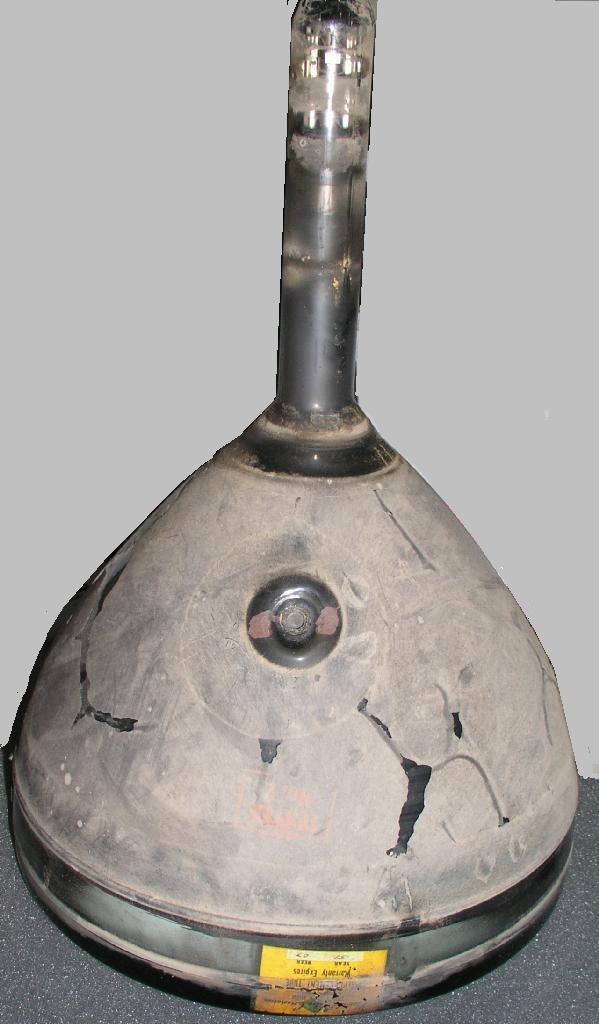
- CRT socket was loose / un-glued from the glass neck.
- lots of dirt !
The set looked like it was complete enough that it just
might work if plugged in, but I decided to resist the urge to test it.
The liklihood of a capacitor failure was high after who-knows-how-many years of storage.
I knew most parts would be obtainable, but burning up a flyback or yoke would
probably end my project permanently...
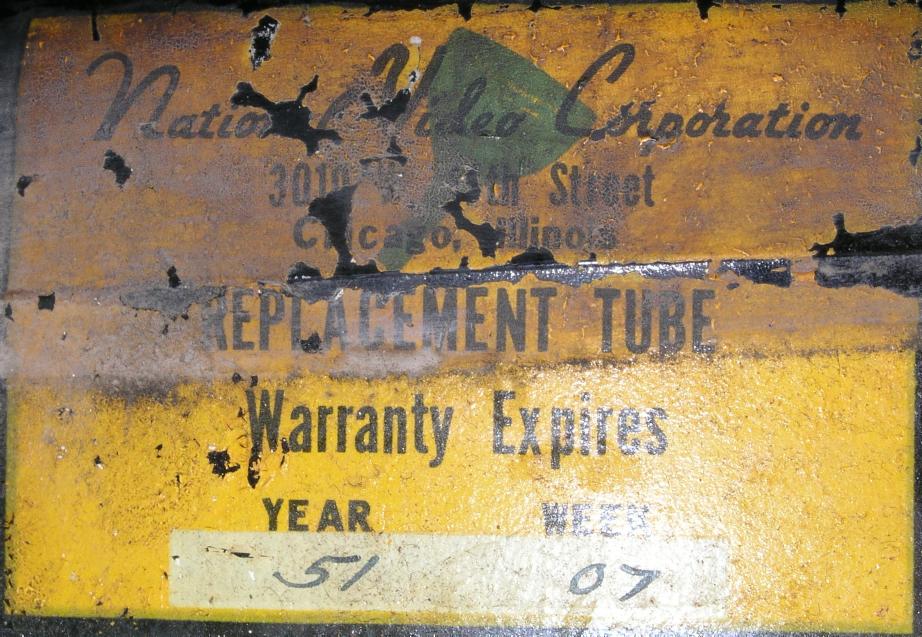
I did test the CRT and found it -very- weak, but still under vacuum (!)
It responded to restoration nicely, coming up to the 50% range.
On that encouraging note, plus the observation that the fuse in the horizontal
output circuit was still intact, I proceeded to dis-assemble and inspect the chassis.
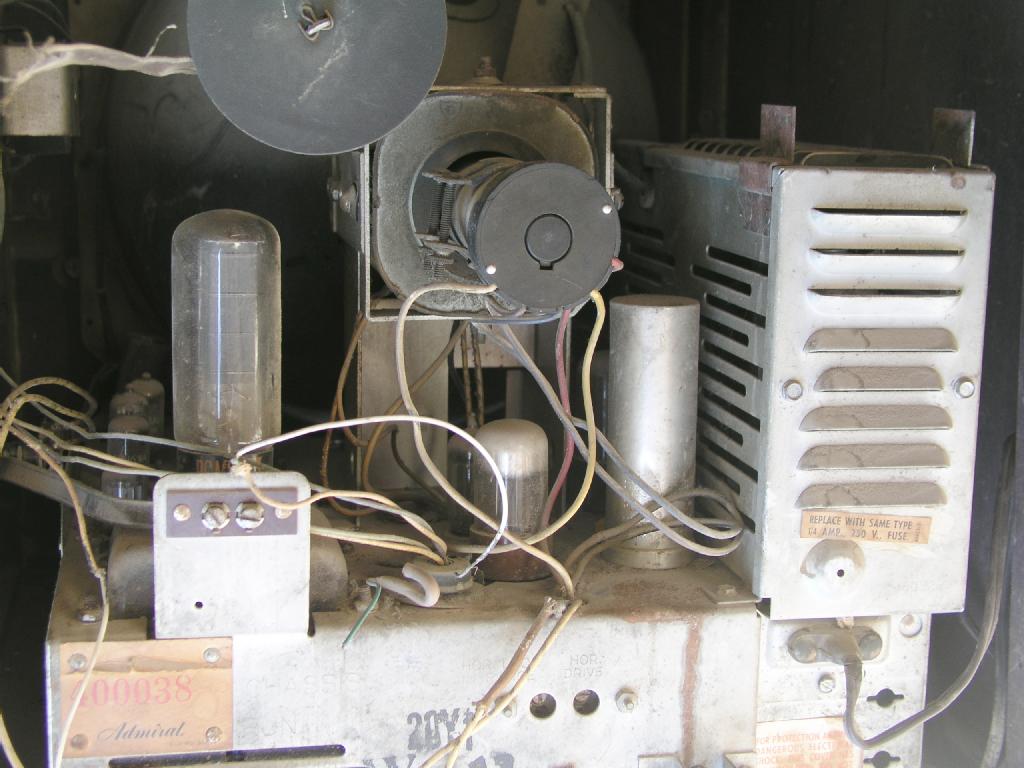
Here's a look at the chassis top & bottom in its original state, and the CRT:


I've worked on a lot of vacuum-tube TV sets, but this is the oldest of the bunch
to date, and there are some features here I've not seen before.
The set uses magnetic focus, and the focus coil is mounted on a two-axis pivot with a
lever that extends to the rear panel so that picture centering can be externally adjusted...
the focus control was considered important enough to place on the front panel,
with the volume control.
The speaker is an electromagnetic type, with its field coil serving as the
filter choke in the B+ power supply. The speaker conveniently plugs into the
chassis and slides out of its mounting in the cabinet after pressing two
spring clips.
The CRT is mounted to the chassis with a fabric strap, and the entire TV comes
out of its cabinet in one unit, unlike most later sets. Ease of service!
The original contrast / brightness control was a dual-concentric type
on the front panel; it had been replaced with two single pots. The brightness
control was still on the front but the contrast control had been moved, probably to the
now-missing back panel. It was the pot hanging by its wires in back.
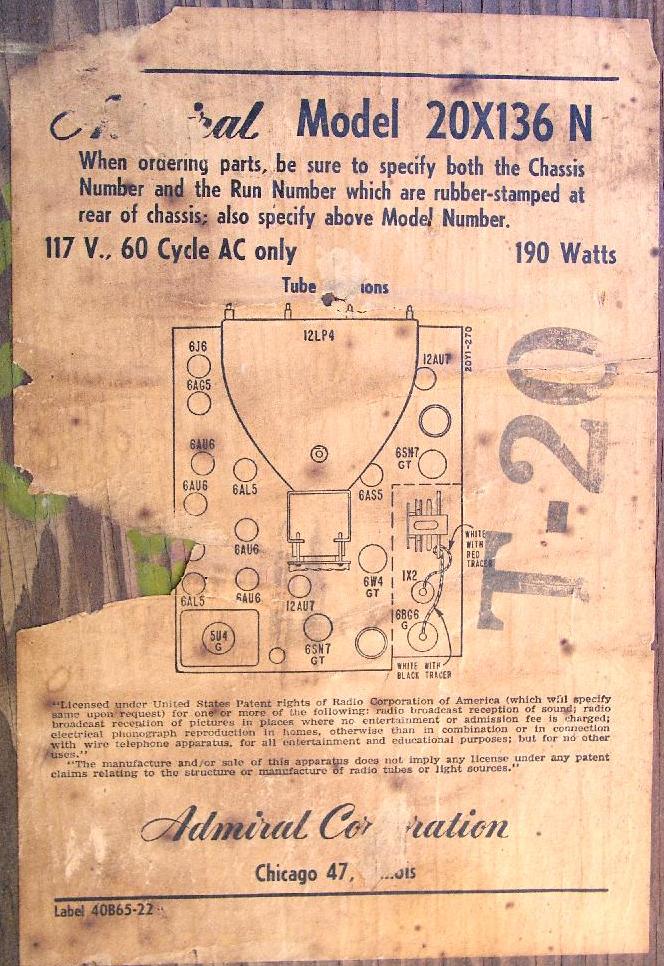
The Phoenix Public Library has a full collection of SAMS Photofacts- back to day one.
This set ( Admiral chassis 20Y1) is covered in Photofact Set 100, Folder 1,
so the schematic and parts list were readily obtained.
The to-do list became:
- Test all tubes & replace if necessary
- Clean up rust & dirt on the chassis
- Replace electrolytic & paper capacitors
- Repair speaker wires
- Repair the conductive coating on the CRT - it was flaking off badly
- Repair the CRT socket
- Replace the contrast / brightness control with the proper dual unit
- Refinish the cabinet
- Clean & polish the plastic CRT window
- Replace missing knobs
- Replace back cover
- New AC cord
Updated 12/08/19